Generate Pivot Report from SharePoint List Item

We can generate pivot reports directly from SharePoint list items.

Step 1: Create a new excel file and go to  File> Options > Add- INS

pivot1

Step 2: Go to Manage Dropdown> COM Add-Ins > Click on Go Button

pivot2

Step 3: select Microsoft Office Power Pivot

pivot3

Step 4: Now go to go Power Pivot section and click on manage from the ribbon.

pivot4

Step 5: from Manage window click on “Get External Data”, then “From Data Service”, then “From OData Feed” as shown below:

pivot5

Step 6: Provide the SharePoint List Web service URL

http://000051D:7777/sites/uat/_vti_bin/ListData.svc/<ListName&gt;

pivot61

Step 7: you will get next window listing your list. click on finish button.

pivot71

Step 8: it will import all the list items as shown below, then close the window.

 pivot81

Step 9: choose pivot table from ribbon as shown below:

pivot91

Step 10: Select new worksheet to proceed with your Pivot table.

pivot10

Step 11: Drag and Drop Rows, Columns, Filters and Values Based on Requirement from right side field lists.

pivot101


Step 12: to arrange all the fields, follow below steps:

Right Side Pivot Table Rows Panel  >Right Click on Column Properties > Field Settings > follow the bellow Screen shots:

pivot12

pivot13

pivot14


Step 13: now you can upload this document into a document library and provide the document link to end user. End user can download the pivot which will get updated dynamically with list items available in the list.


Posted in SharePoint | Tagged , | Leave a comment

SharePoint search: Full Crawl goes for long time without crawling a single item

I created one search service application and started crawling file share and expecting to be complete in few minutes as there were not much items inside the shared folder.

But it was taking lot of time without even crawling single item. I tried multiple times, also I deleted the search service application and created new one. nothing helped. Finally I went to log file to track if there is any error and found it.

ExecuteNonQuery fails with Error 0x80070057 Description ‘The value’s length for key ‘application name’ exceeds it’s limit of ‘128’

When we create a search service application, we provide the name of the application and it creates the other DataBase (index DB, Analytics DB etc) by appending with some GUID as shown below image

SearchAdmin

If the database name goes beyond 128 characters, it throws the above error. So make sure the name of search application service is not bigger.


Thanks,

Prasanta

Posted in SharePoint issues | Tagged | Leave a comment

Enable Post back for button after downloading file (Response.write) in SharePoint

If you are using custom code to download file(i.e if you are using response.write in your web part), post back gets disabled for the button. hence we can not download 2nd time without refreshing the page.

To avoid such problem, just add below script in the page using script editor web part.

<script type=”text/javascript” language=”javascript”>  

if (typeof (_spBodyOnLoadFunctionNames) != ‘undefined’ && _spBodyOnLoadFunctionNames != null) {

_spBodyOnLoadFunctionNames.push(

“supressSubmitWraper”);

}

function supressSubmitWraper() {

_spSuppressFormOnSubmitWrapper =

true;

}

</script>

Posted in SharePoint | Tagged | Leave a comment

SharePoint Search results : SharePoint List items for Anonymous Users

When we enable anonymous access for a site and want to search list items as anonymous user. There is a site collection feature called “Limited-access user permission lockdown mode” which prevents list items to be indexed as anonymous access.

A List item will be viewed through DispForm application page like below: Lists/AverageRatingStore/DispForm.aspx?ID=1.

Above feature stops anonymous user to access application pages. once you deactivate the feature and give a crawl, anonymous user should be able to search list items.


Thanks,

Prasanta

Posted in SharePoint | Tagged , | Leave a comment

SPQuery returns all the items

There is a silly mistakes which we generally do in CAML query.

I have written a simple query to fetch some items based on title:

<where><Eq><FieldRef Name=’Title’ /><Value Type=’Text’>Prasanta</Value></Eq></Where>

it returns all the items from the List.


Later I found <where> tag  is in lowercase in my query for which it considers it as wrong query and return all the items. Hence corrected

Make sure all the tags in query should be proper case

<Where><Eq><FieldRef Name=’Title’ /><Value Type=’Text’>Prasanta</Value></Eq></Where>

Thanks,


Posted in SharePoint issues | Tagged , | Leave a comment

SharePoint 2010 workflow error:The form cannot be displayed in the browser because the use of session cookies has been disabled in the current browser settings. In order to load the form, session cookies must be allowed.

I was working on a SharePoint 2010 designer workflow where we do have task form(InfoPath form). It was working fine and all of sudden we faced below issue when we click on the task to approve/reject.

The form cannot be displayed in the browser because the use of session cookies has been disabled in the current browser settings. In order to load the form, session cookies must be allowed.”

as shown in the below image:

workflow_Issue

The message says it is due to cookie which is disabled in the browser. after enabling it, it was giving same error.

Finally we found it is due to HTTPOnlyCookies attribute which was set to true in web.Config file.

To solve above issue, Go  to web.config file in your web front end servers and search for httpCookies tag and set HTTPOnlyCookies  attribute to false. That’s all:-)


Posted in SharePoint 2013 Workflow, SharePoint issues | Tagged , , | Leave a comment

SharePoint Excel web Access webpart: dynamically set the active cell value from a slider using ECMA script

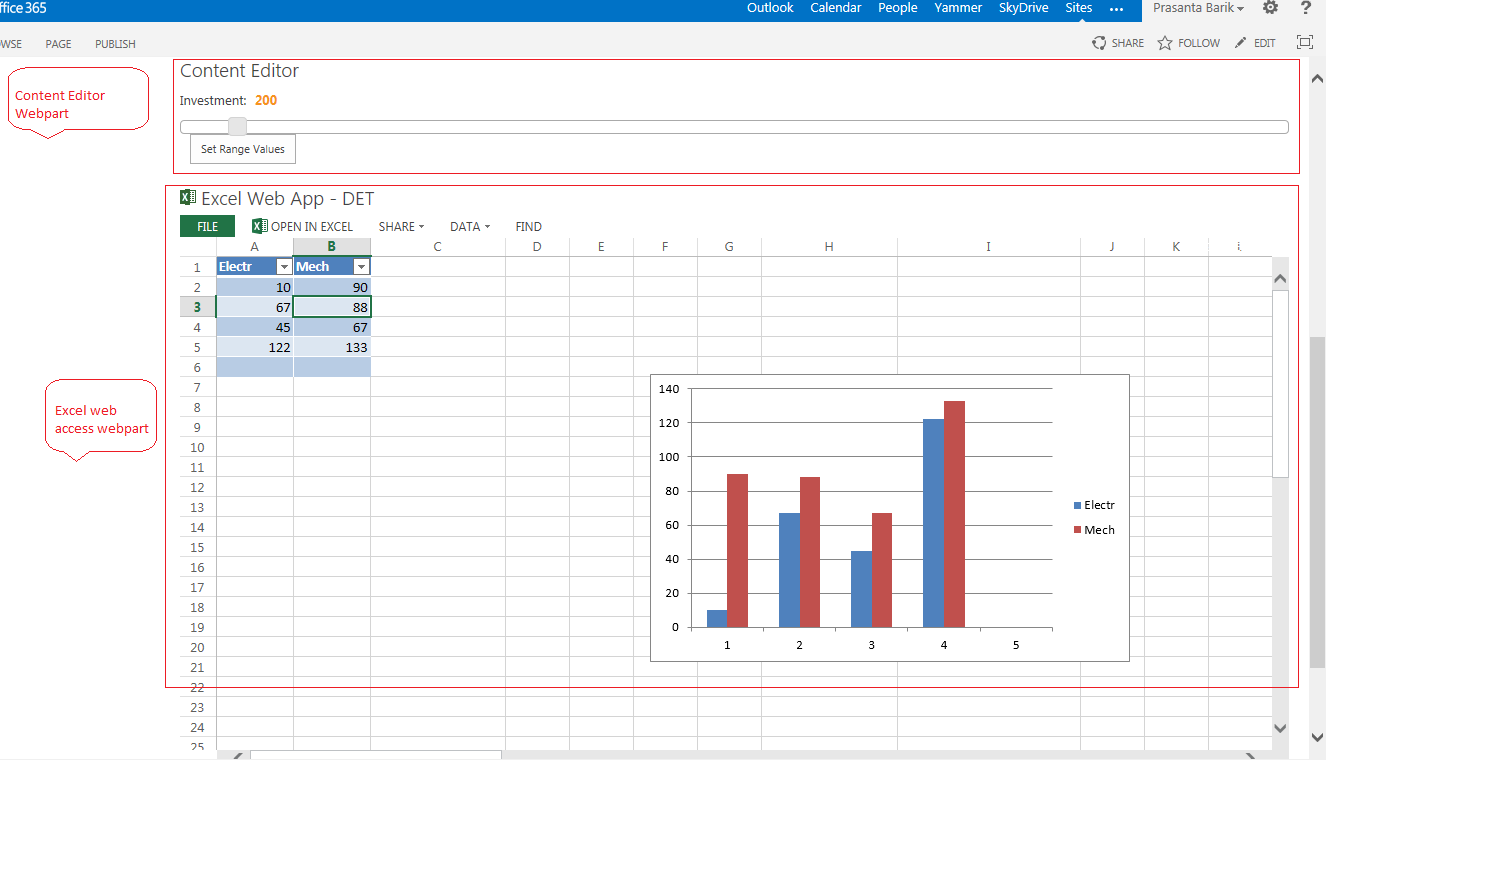
Requirement: Use Excel web Access web part to show Excel report(which will have charts) and the worksheet active cells values can be changed through a slider.

Note: Active cell is nothing but the selected cell from the worksheet.
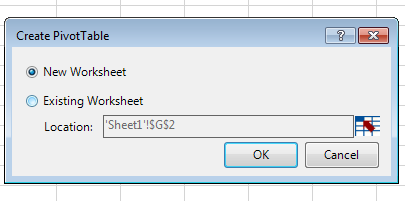
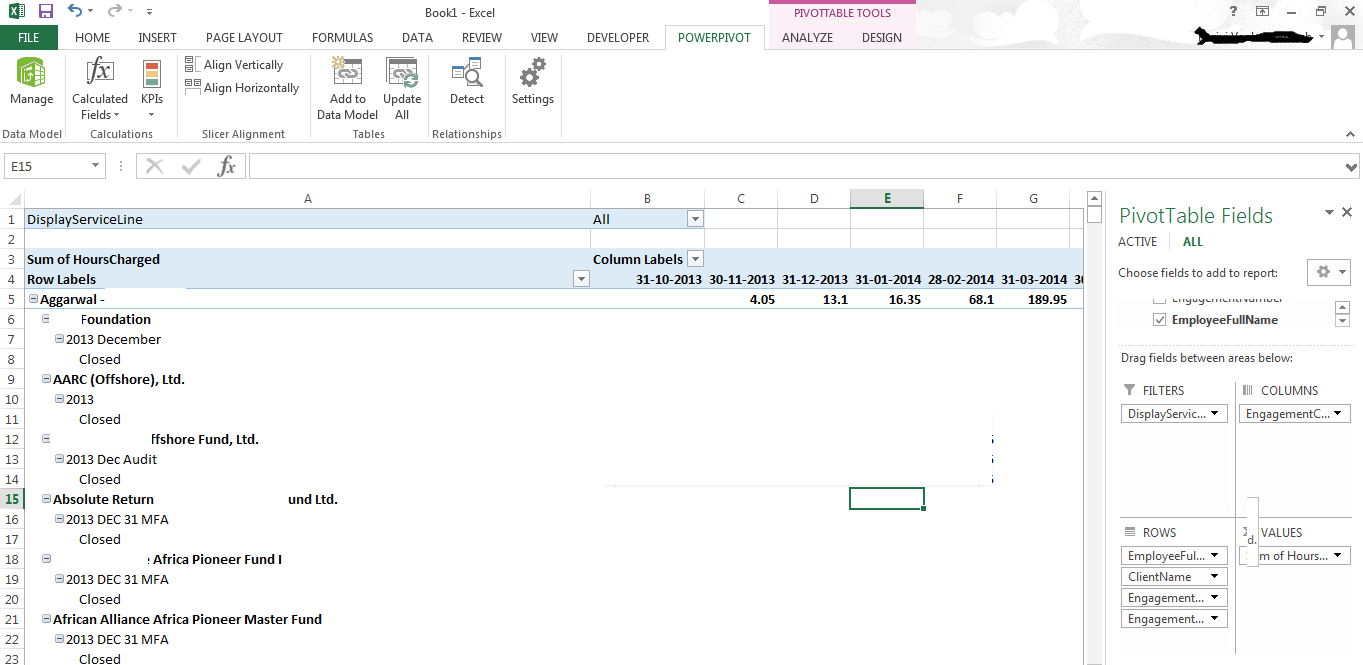
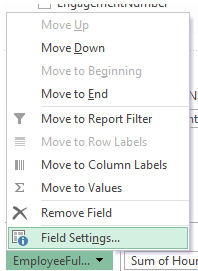
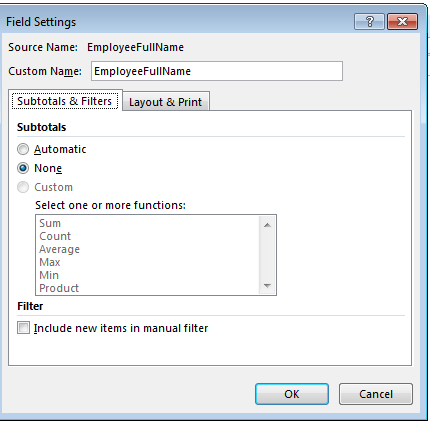
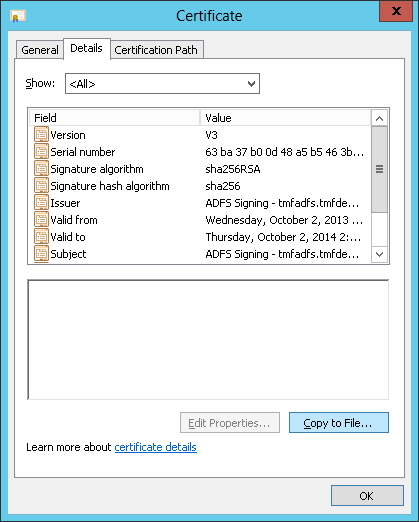
Image:

ExcelAccessWeb

Excel web Access web part is used to display excel worksheet with different charts.
To configure Excel web Access web part follow below link:
http://office.microsoft.com/en-in/sharepoint-server-help/display-a-workbook-in-an-excel-web-access-web-part-HA101794181.aspx.

To connect Excel web Access web part to the slider plugin, add a content editor web part and the below scripts and html Tags:

<link href=”/sites/Test/Documents/jquery-ui.css” rel=”stylesheet”/> <script src=”/sites/Test/Documents/jquery-1.9.1.js”></script> <script src=”/sites/Test/Documents/jquery-ui.js”></script>

<script>   $(function() {     $( ‘#slider’).slider({       value:200,       min: 0,       max: 4000,       step: 50,       change: function( event, ui ) {         $( ‘#amount’ ).val( ui.value );         $(‘#Test’).text(ui.value);

}           });     $( ‘#amount’).val($( ‘#slider’ ).slider( ‘value’ ) );     $(this).setRangeValuesButton();

});</script>

<script type=”text/javascript”>

var ewa = null;

// Add event handler for onload event.

if (window.attachEvent)

{     window.attachEvent(“onload”, ewaOnPageLoad);    }

else {

window.addEventListener(“DOMContentLoaded”, ewaOnPageLoad, false); }

// Add event handler for applicationReady event.

function ewaOnPageLoad() {

Ewa.EwaControl.add_applicationReady(onApplicationReady); }

function onApplicationReady() {

// Get a reference to the Excel Services Web Part.

ewa = Ewa.EwaControl.getInstances().getItem(0);                                     }

function setRangeValuesButton() {

// Get a reference to the active selection as a range.

var selection = ewa.getActiveWorkbook().getActiveSelection();

// Set up the values that will be set in the call to setValuesAsync.

var values = new Array(1);

// Create a 2 dimensional array with 3 array elements,

// where each element represents a row in the range.

values[0] = new Array(1);

// Set values for the first element.

values[0][0] = document.getElementById(“amount”).value;

// Call setValuesAsync to set the values.

selection.setValuesAsync(values,setRangeValues,null); }

function setRangeValues(asyncResult) {     window.status = “Set values completed: ” + asyncResult.getSucceeded(); } </script>

<p>    <label for=”amount”>Investment:</label>    <input id=”amount” onchange=”setRangeValuesButton()” type=”text” value=”2950″ style=”border-bottom: 0px; border-left: 0px; color: #f6931f; border-top: 0px; font-weight: bold; border-right: 0px”/> </p> <div id=”slider”></div>

<input id=”SetRangeValues” onclick=”setRangeValuesButton()” type=”button” value=”Set Range Values”/>

Note: The above code basically use ECMA scripts and register a windows event.To set active cell value we use EWA namespace, we use “setValuesAsync(values,setRangeValues,null);” function.

When some values is change through slider, the worksheet cell value and the charts get refreshed.

Note: Register the required JQuery script files

Posted in SharePoint | Tagged | 2 Comments

Multiple Task emails are sent from SharePoint 2013 Designer workflow

We are using SharePoint 2013 designer workflow. Created Task for Approver group as part of the workflow.

workflow1

It was sending same email multiple times as part of Task notification.

We were trying a lot to findout the solution. Finally went to the Approvers groups and found there are multiple users added into it and some of the user are not having valid email address.

When it finds some email are not going through, it tries multiple times. Hence the users having valid email address get multiple times same email.

Solution: remove the users having invaild email address from the group or in AD correct the email address for the user.

It is very simple solution, sometime it takes a longer time to find out the cause.

Thanks,

Prasanta

Posted in SharePoint 2013 Workflow, SharePoint issues | Tagged , | Leave a comment

Step by Step method to configure ADFS Claim Provider in SharePoint 2013

This blog describes how to integrate ADFS Claim provider with SharePoint 2013.

Broadly the entire Integration will be covered in 3 steps.

  1. ADFS relying party configuration
  2. Exporting Certificate
  3. Configuring Claim provider in SharePoint

1.       ADFS Relying party configuration

Active Directory Federation Services (AD FS) simplifies access to systems and applications using a claims-based access (CBA) authorization mechanism.

AD FS supports Web single-sign-on (SSO) technologies that help information technology (IT) organizations collaborate across organizational boundaries.

1.1            Create relying party trust

  • Open ADFS console on the server. You will find below screen

ADFS1

  • Click on Add Relying party trust from the right pane.

ADFS2

  • Click on next and give the relying party Name

ADFS3

  • Select the first option ADFS profile and go to next.

ADFS4

  • Encryption certificate are required to encrypt from ADFS end and same can be decrypted in SharePoint side while getting the claims objects (user profile field values will be sent as claim object) . Here encryption certificate is not required, hence go to next screen

ADFS5

  • In the below screen specify web application URL and append /_trust/ as shown below.

                         When our web application URL is https://a2MS005.testdev.com:7777/

                       , Relying part URL would be https://a2MS005.testdev.com:7777/_trust/

                        In case your URL is https://a2MS005.testdev.com:7777/sites/test

        ,Relying part URL will be give https://a2MS005.testdev.com:7777/sites/test/_trust/

                Note: ADFS will trust pages under “/sites/test” site collection

ADFS6

  •  Relying party identifier: This is unique identifier string which will be used in SharePoint while registering ADFS Claim Provider

ADFS7

  • Select to permit to all user to access this relying party

ADFS8

  • Click on Next and finish the wizard

ADFS9

  • On the Finish page, click Close. This opens the Rules Editor Management console.

ADFS10

1.2            Edit the claim rules.

  The User  Profile fields which we need as Claim Object in SharePoint can be configured here

  • Click on Add Rule

ADFS11

  • Select Send LDAP Attributes as Claims. Click Next.

ADFS12

  • On below page, type the name of the claim rule in the Claim rule name field.
  • From the Attribute Store drop-down list, select Active Directory
  • Do mapping in between LDAP Attributes and Outgoing claim of the attributes:

ADFS13

Note: above two attributes are mandatory as one these can be used as Claim Identifier while registering the claim provider. You can say these will be considered as unique parameters for each user.Other attributes like company, phone number etc. can be configured as per our requirement.

ADFS14

ADFS15

If some attributes are not appearing in Outgoing claim type category, those need to be created manually which is described below.

  • Click on Claim Description from the left Pane under Service folder

ADFS16

  • Click on Add claim Description and give the display name and claim identifier as shown below.

ADFS17

ADFS18

  • Now the newly created Attribute will be avaibale under Outgoing claim category

ADFS19

2.       Export Certificate from ADFS server

The user account that is performing this procedure should be a member of the Administrators group on the local computer

  •  On the AD FS server, open the Active Directory Federation Services (AD FS) Management console
  • In the navigation pane, expand Service, and then click the Certificates folder.
  • Under Token signing, click the primary token certificate as indicated in the Primary column
  • In the right pane, click View Certificate link. This displays the properties of the certificate
  • ADFS20

ADFS21

  •  Click the Details tab.
  • Click Copy to File. This starts the Certificate Export Wizard
  • On the Welcome to the Certificate Export Wizard page, click Next
  • ADFS22
  • On the Export File Format page, select DER encoded binary X.509 (.CER), and then click Next

ADFS23

Save the certificate to local folder and copy it to sharepoint server which will be imported to SharePoint certificate store.

3. Configure SharePoint 2013 to trust AD FS as an identity provider

In order to configure ADFS as identity provider, follow below steps.

Open the SharePoint PowerShell management command prompt

  • Import the certificate which was exported from ADFS server

$root = New-Object System.Security.Cryptography.X509Certificates.X509Certificate2(“C:\Cer\adfs.cer”) New-SPTrustedRootAuthority -Name “Token Signing Cert” -Certificate $root

Note: above script will register the certificate in SharePoint certificate store which can be noticed in central administrator under security tab as shown below

SP1

SP2

  • Registering Claim provider

Here we will be using email address as claim Identifier and other few attribute mapping.

$map = New-SPClaimTypeMapping -IncomingClaimType “http://schemas.xmlsoap.org/ws/2005/05/identity/claims/emailaddress&#8221; -IncomingClaimTypeDisplayName “EmailAddress” -SameAsIncoming

$map2 = New-SPClaimTypeMapping -IncomingClaimType “http://schemas.microsoft.com/ws/2008/06/identity/claims/role&#8221; -IncomingClaimTypeDisplayName “Role” -SameAsIncoming

$map3 = New-SPClaimTypeMapping -IncomingClaimType “http://schemas.xmlsoap.org/ws/2005/05/identity/claims/company&#8221; -IncomingClaimTypeDisplayName “Company” -SameAsIncoming

$map4=New-SPClaimTypeMapping -IncomingClaimType “http://schemas.xmlsoap.org/claims/Group&#8221; -IncomingClaimTypeDisplayName “Group” -SameAsIncoming

 $realm = “urn:sharepoint:test”

$ap = New-SPTrustedIdentityTokenIssuer -Name “ADFS CAP Provider” -Description “ADFS Claim Provider” -realm $realm -ImportTrustCertificate $root -ClaimsMappings $map,$map2,$map3,$map4 -SignInUrl “ https://nlamp005.dev.com/adfs/ls ” -IdentifierClaim “http://schemas.xmlsoap.org/ws/2005/05/identity/claims/emailaddress&#8221;

 $ap.Update()

Details on the parameters mentioned in above script:

SP3

Note: Map, map2, map3 map4 are parameters for email address, role, company, group respectively.

In case you need other attributes, you need to map it here otherwise it will not be available as part of claim object

  • Change the Authentication Provider

Go to central admin and manage web application, select  the web application which we need to enable ADFS claim authentication.

SP4

SP5

Your ADFS claim provider will be shown under “trusted” identity provider.

Now your web application is configured with ADFS claim provider.

Thanks,

Prasanta

Posted in SharePoint | Tagged | 1 Comment

Consume a cross domain hosted WCF webservice using Jquery

Here we will consume a WCF webservice which returns data in JSON format using Jquery.

How to create a WCF is not covered as part of this blog. asuming all the end point configuration and the webservice methods works properly.

Still here you find the end points configuration of the webservice which has to be done in web.config of the webservice.

End Point Configuration

WCFConfig

Highlighted sections should be taken care in the configuration properly.

Service Contract class

Below screen gives the service contract of the method getvalue(string name) using.

ServiceContract

Webservice method

Method

In the above steps we saw configuration detail of the wcf webservice.

To test the webservice copy the url of the webservice and append with the Uri format of the method given in the service contract:

example:

http://localhost:60683/LoggerService.svc/getValue?id=”Prasanta

Note: “Prasanta” is the value which will be passed to the method(getvalue)

When you browse above url, if it downloads some packet of data means the Webserive works properly.

Consume the the webservice using Jquery:

when your application is hosted in another domain and you are trying to consume the webservice hosted in another domain:

Jquery code to fetch the data from the webservice method getValue

JSON

The above code works properly if we consume from the same web application where the webservice is hosted. If it is another domain it gives No transport error as shown below:

ErrorECF

To solve this problem, you need to add $.support.cors = true; inside your javascript before calling the webservice as shown below:

WCFEntrie

Note: Cors stands for Cross-Origin Resource Sharing. making it true solves the cross domain issue

Now the above code can access the web service and returns the data.

Now above code worked properly on Internet explored, why not in Firefox or any other browser. what may be the issue>

While troubleshooting I tried adding a global.asax in my web service solution to find the request from Firefox browser which was giving HttpMethod==”OPTIONS”, instead of “GET” which I am using in web service.

Note: In Internet Explorer, it sends “GET” as HttpMethod.
I made some changes to add the header as “GET” or “POST”, so that web service can understand there is request for GET Method and it will return the value
global3


Still there is some issue, We need to allow all the cross domain request by making “Access-Control-Allow-Origin=*” in the web service side as shown below:

global2


Now this web service can be called from any browser:-)


Thanks,

Prasanta

Posted in ASP .Net, WebServices | Tagged , , , | Leave a comment